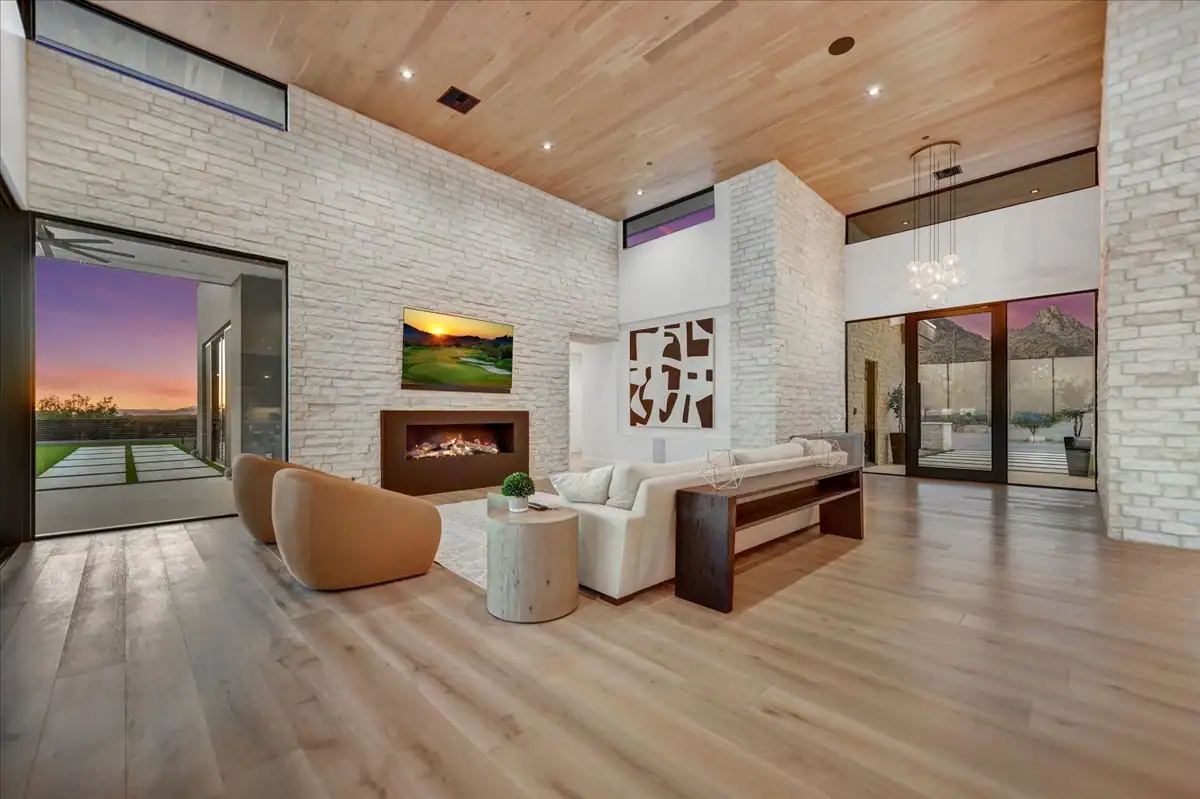
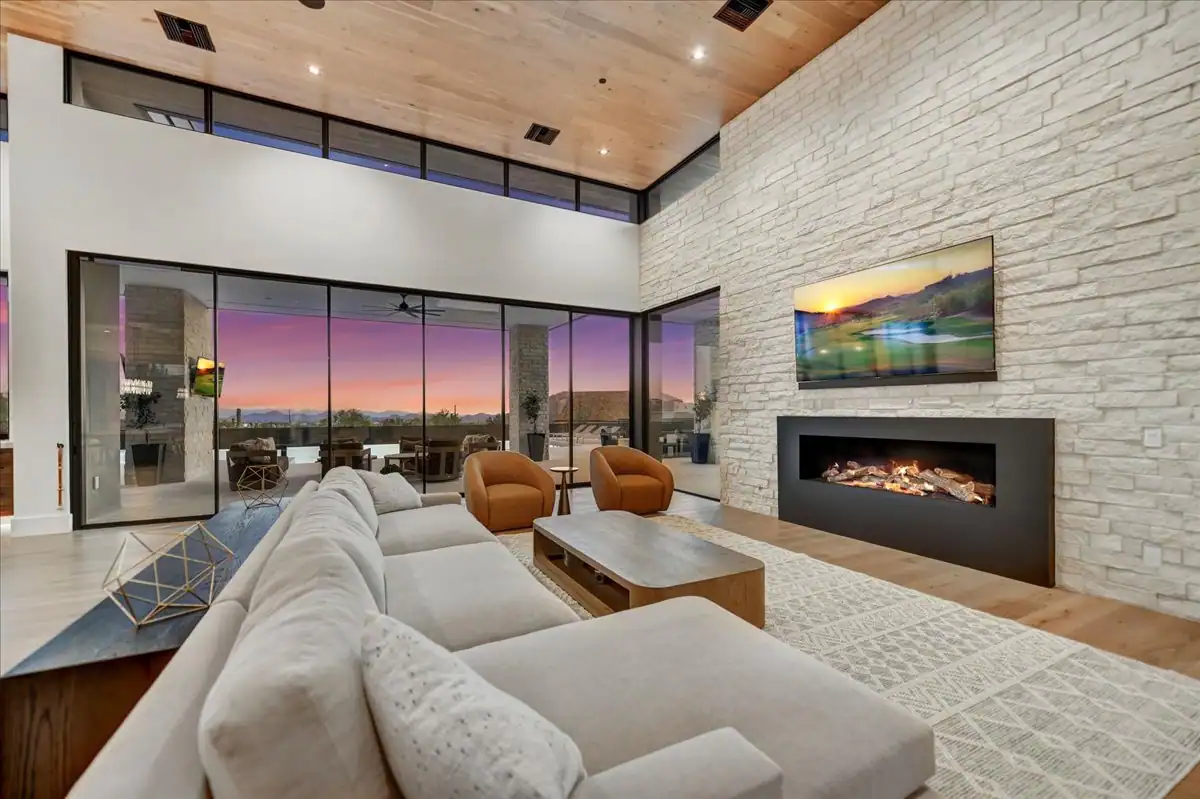
Wood ceiling design changes how a room reads before furniture or artwork enters it. Grain, board direction, and the way the ceiling meets glass or stone can bring warmth to a large volume without making it feel heavy. In an Arizona custom home, those decisions belong in the drawings, alongside the structure, lighting, and air distribution rather than after the ceiling has been closed.
Decide What the Ceiling Should Do
Start with the role of the ceiling in the room. It might emphasize a long view, make a tall space feel more settled, or define a sitting area within an open plan. Covering every overhead surface with wood is not necessary to achieve any of those outcomes.
Consider the ceiling alongside the floor and the largest wall surfaces. A strong stone wall may need a restrained wood plane above it, while a room with pale plaster can support more visible grain. The materials should have different jobs, not compete for the same attention.
Study the room in section as well as on the floor plan. Ceiling height, roof slope, and window heads determine how much wood someone sees from a seated position. A finish that seems modest on a sample can become the dominant surface when it covers a steep vault.
Set Board Direction With the Architecture
Board direction creates a visual path across the room. Running boards toward a view can reinforce that connection, while running them across a narrow volume can change its apparent proportions. There is no universal direction that works in every home.
- Draw the board layout against window heads, roof ridges, and major wall lines.
- Check the direction from the entry, dining table, and main seating area.
- Resolve where boards end at beams, changes in slope, or adjoining plaster.
- Plan end joints so they do not create an unintended stripe across the room.
Use a reflected ceiling plan to make these relationships visible before installation. A narrow leftover strip at the perimeter often signals that the starting line needs adjusting. The layout should account for both sides of the room, not begin at one wall and accept whatever remains at the other.
Compare Species, Grade, and Surface Texture
Species affects grain, color variation, hardness, and how a finish absorbs into the surface. Grade controls how many knots and other natural features appear. Neither a clear grade nor a knot-rich grade is automatically better: the choice depends on how much visual activity the room can carry.
Review several boards together rather than one clean sample. A single piece cannot show the variation across an entire ceiling, especially with woods that have noticeable differences between boards. Ask to see the proposed profile and surface preparation with the finish applied.
In Scottsdale, strong daylight can reveal texture that looked subtle indoors at a showroom. Brushed or rougher surfaces cast more shadow, while smoother boards show color variation and light reflections more clearly. Compare them in light similar to the room where they will be installed.
Understand Tongue-and-Groove and Panel Systems
A tongue-and-groove ceiling uses boards with mating edges that help align adjacent pieces. The visible joint can be tight, beveled, or shaped into a deeper groove depending on the selected profile. That joint establishes a repeated rhythm across the entire surface.
- Individual boards create a fine-grained pattern with more visible joints.
- Veneered panels can produce broader fields with fewer interruptions.
- Slatted systems introduce depth and may accommodate acoustic backing.
- Decorative beams add another scale and require their own attachment details.
Choose the system before resolving edges and fixtures. Panels need a deliberate seam layout, and slats need a consistent backing treatment wherever gaps remain visible. Product requirements, the supporting assembly, and any applicable fire requirements should be reviewed together rather than treating the finish as a separate decorative layer.
Detail Edges, Beams, and Changes in Plane
The perimeter often tells you more about workmanship than the middle of the ceiling. Decide whether wood meets plaster through a shadow reveal, a trim piece, or another documented detail. Each approach needs room for the material to move and a clear sequence for installation.
At a stone wall, irregular texture makes a tight, uniform meeting line difficult. A controlled reveal can separate the two materials without requiring every stone face to end in the same plane. At glass, the ceiling detail also needs to account for the frame, shade pocket, and access to any concealed equipment.
Draw intersections at full detail scale where possible. Beam returns, inside corners, and changes from a flat ceiling to a vault are easy to overlook in a perspective image. Our architectural and design consultation page describes the early planning stage when those architectural relationships can still be resolved together.
Integrate Lighting and Air Distribution
A wood ceiling is less forgiving of random fixture placement than a plain painted surface. Recessed lights, air grilles, speakers, and sprinklers all interrupt the board pattern. Place them for performance first, then adjust the layout so the ceiling does not look like several unrelated plans laid over one another.
- Confirm fixture housings and required clearances before the overhead assembly closes.
- Align visible devices with a deliberate board or panel layout where practical.
- Provide structural backing for fans and suspended fixtures.
- Keep access panels reachable and consistent with the finish system.
Lighting can exaggerate minor differences in alignment. A grazing light close to the ceiling may expose uneven boards or sanding marks that ordinary room lighting would not reveal. Test the intended light against a finish sample, and do not assume wood will reflect light as strongly as pale plaster.
Allow for Movement and Interior Conditions
Wood responds to moisture conditions even in a dry climate. The material may arrive from a different environment, and construction moisture can differ from the conditions of an occupied, conditioned home. Follow the product guidance for storage, acclimation, moisture checks, and installation.
The fastening pattern and perimeter clearances should suit the selected system rather than a rule borrowed from another product. Concealing every movement gap with a rigid joint can create problems later. The installation detail should explain both how the surface is supported and where movement is accommodated.
A decorative wood ceiling is not a substitute for the insulation, air control, or other layers required by the roof assembly. Those systems need to remain continuous around fixtures and transitions. Finish decisions and enclosure details are related, but they serve different purposes.
Carry Wood Into a Covered Patio Carefully
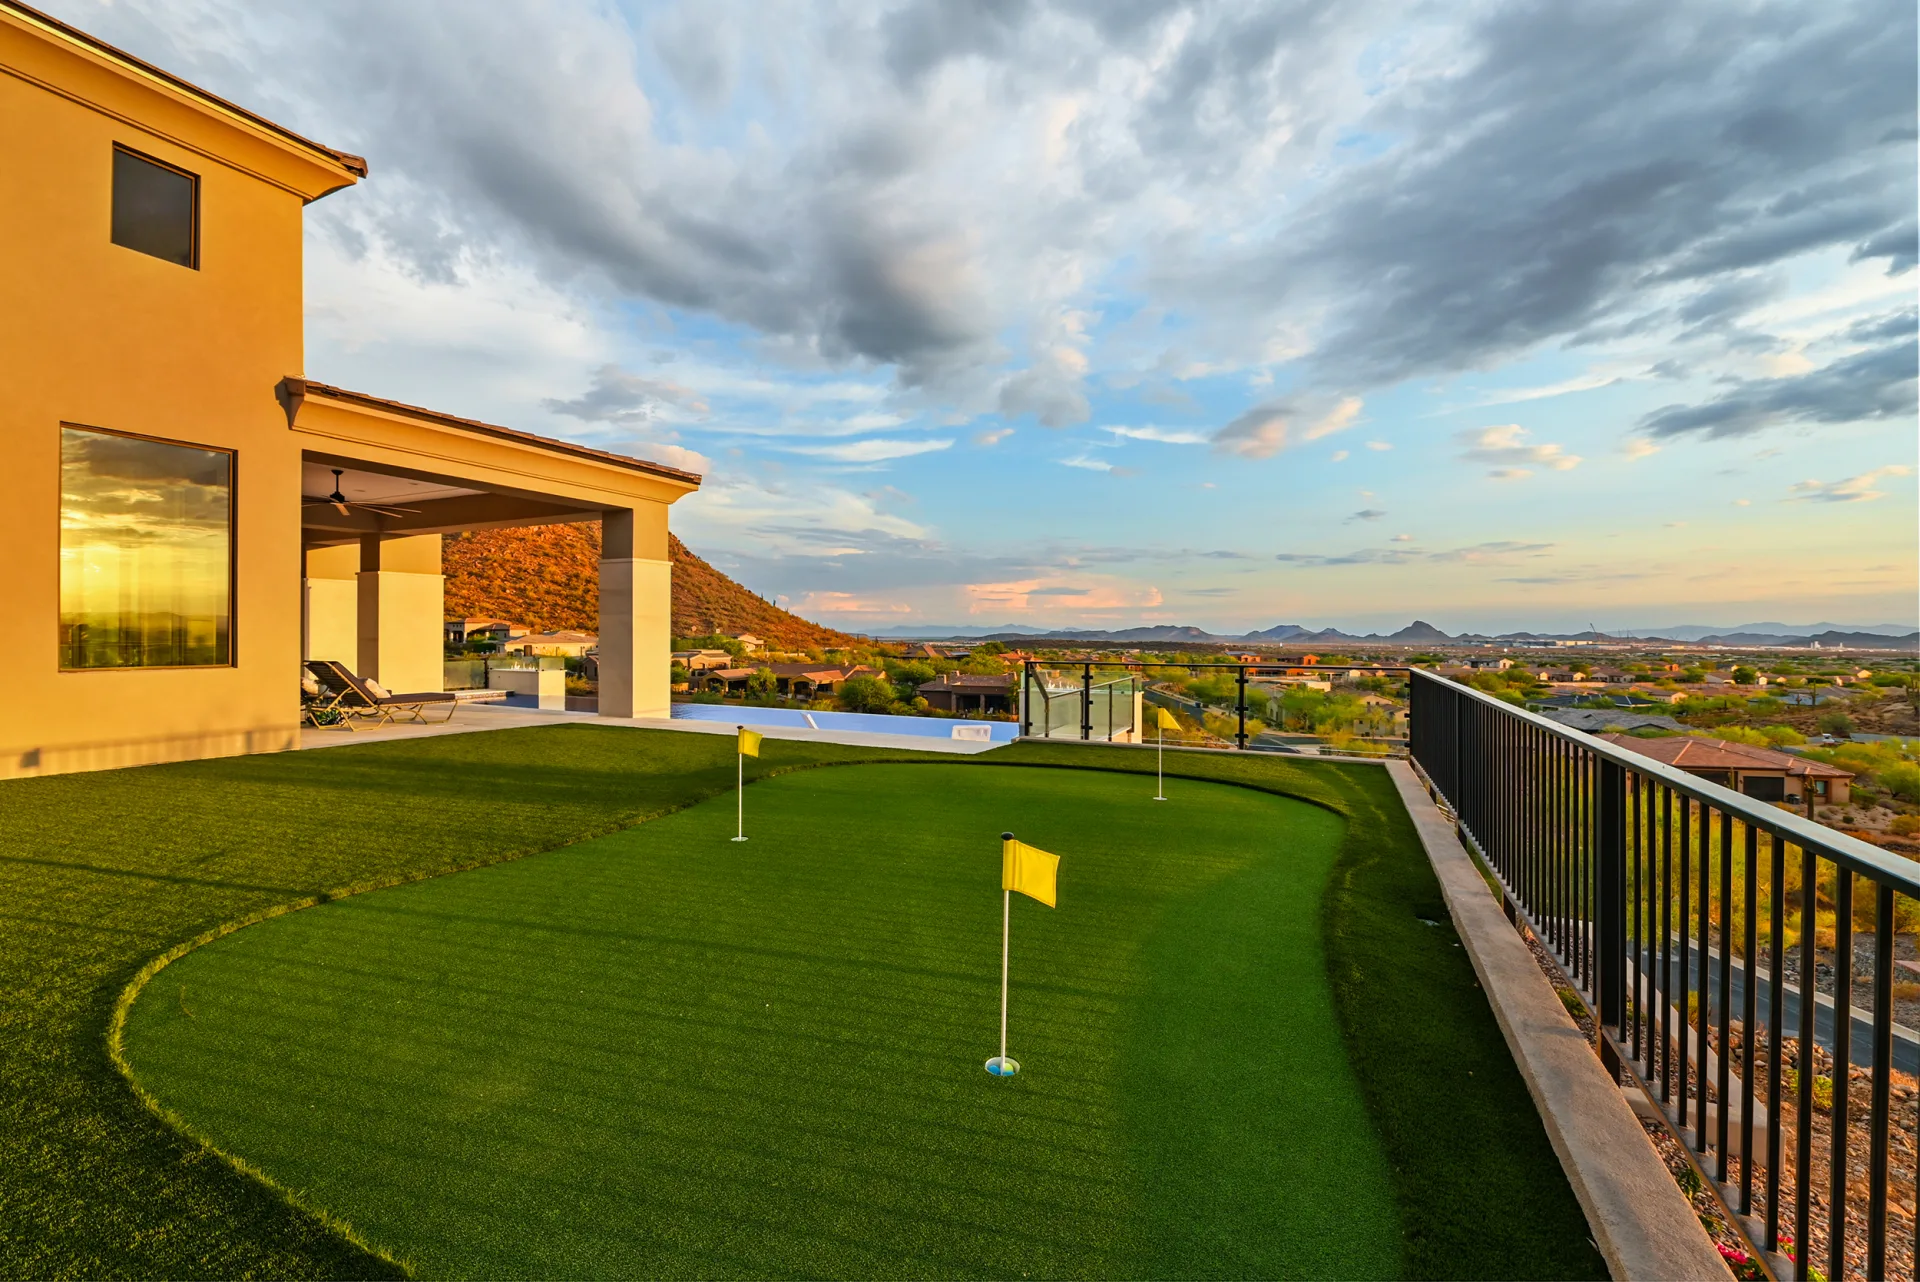
Repeating wood outside can connect the interior ceiling to a shaded terrace. That continuity does not mean the same material, coating, or attachment method is appropriate on both sides of the glass. A covered patio still encounters wind-driven rain, heat, dust, and changing moisture conditions.
Select exterior-suitable products for the degree of exposure and follow their finishing requirements, including treatment of cut edges where specified. Keep roof drainage and flashing independent of the decorative surface. A protected soffit should not be expected to conceal or solve a water-management problem.
The broader room-to-patio relationship is covered in our indoor-outdoor living article. For wood specifically, compare how the finish will age inside and outside, and decide whether a close initial color match or a compatible long-term difference matters more.
Review a Mockup Before the Full Installation
A useful mockup includes more than a finished board. Include several joints, an end condition, a fixture opening, and the intended edge against an adjacent material. That combination reveals whether the profile, finish, and installation detail work as a complete assembly.
Review the sample from normal viewing distance and under the planned lighting. Record the accepted board grade, finish, joint treatment, and edge detail so later decisions have a consistent reference. Photographs in our portfolio can help establish a visual direction, but a physical sample is better for evaluating texture and color.
Once installation begins, check the starting layout and the first completed area before the whole room is covered. It is easier to correct an alignment issue at that stage than after fixtures and trim are installed. Bring ceiling references to a design conversation so the room, materials, and construction details can be considered together.
Frequently Asked Questions
- What Is a Tongue-and-Groove Ceiling?
- It is a ceiling finish made from boards with interlocking edges. The selected profile determines whether the joints appear tight or form a visible groove, while the supporting assembly and fastening details depend on the product.
- How Is a Tongue-and-Groove Ceiling Installed?
- Boards attach to a suitable supporting assembly according to the manufacturer's guidance and project details. The work includes confirming material conditions, setting the layout, providing backing, and accommodating movement around the perimeter and penetrations.
- How Should Tongue-and-Groove Ceiling Joints Be Staggered?
- Plan end joints on the ceiling drawing so the pattern looks intentional and meets the product's support requirements. Avoid unintended clusters or repeated diagonal lines, and review the proposed joint pattern in a mockup before proceeding.
- How Are Tongue-and-Groove Ceiling Boards Fastened?
- The fastening method depends on board thickness, profile, supporting material, and the manufacturer's instructions. Concealed fastening may suit some systems, but the installer must also account for overhead attachment, edge conditions, and movement rather than selecting fasteners by appearance alone.
Start the conversation